General System Tweaks
AMD Performance Tweaks
Section titled “AMD Performance Tweaks”AMD P-State Driver
Section titled “AMD P-State Driver”amd-pstate is the AMD CPU performance scaling driver that introduces a new CPU frequency control mechanism on modern AMD APU and CPU series in the Linux kernel. The new mechanism is based on Collaborative Processor Performance Control (CPPC) which provides finer grain frequency management than legacy ACPI hardware P-States.
Current AMD CPU/APU platforms are using the ACPI P-states driver to manage CPU frequency and clocks with switching only in 3 P-states. CPPC replaces the ACPI P-states controls and allows a flexible, low-latency interface for the Linux kernel to directly communicate the performance hints to hardware.
Below are 3 operation modes of the amd_pstate driver and kernel cmdline entries to use them on boot:
- AMD P-State (Non-Autonomous Mode):
amd_pstate=passive - AMD P-State Guided (Guided Autonomous Mode):
amd_pstate=guided - AMD P-State EPP (Autonomous Mode):
amd_pstate=active
You can also switch between operation modes at runtime to test the options:
-
Autonomous mode: platform considers only the values set for Minimum performance, Maximum performance, and Energy Performance Preference.
Terminal window echo active | sudo tee /sys/devices/system/cpu/amd_pstate/status -
Guided-autonomous mode: platform sets operating performance level according to the current workload and within limits set by the OS through minimum and maximum performance registers.
Terminal window echo guided | sudo tee /sys/devices/system/cpu/amd_pstate/status -
Non-autonomous mode: platform gets desired performance level from OS directly through Desired Performance Register.
Terminal window echo passive | sudo tee /sys/devices/system/cpu/amd_pstate/status
For more in-depth information:
AMD P-State DocumentationAMD P-State Driver Operation ModesAMD P-State User Space InterfaceConfiguring AMD P-State EPP
Section titled “Configuring AMD P-State EPP”To use the P-State EPP, there are two CPU frequency scaling governors available: powersave and performance. It is recommended to use the powersave governor and set a preference.
- Set powersave governor:
sudo cpupower frequency-set -g powersave - Set performance governor:
sudo cpupower frequency-set -g performance
To set a preference, run the following command with the desired preference:
echo power | sudo tee /sys/devices/system/cpu/cpu*/cpufreq/energy_performance_preferenceAvailable preferences: performance, power, balance_power, balance_performance
AMD 3D V-Cache Optimizer
Section titled “AMD 3D V-Cache Optimizer”AMD posted a patch to optimize the Cache Scheduling on Dual CCD 3D CPUs, like 7950X3D and 7900X3D. You need to set in the BIOS under the CPPC Option to the “Driver” Option. This will allow to override with the sysfs the used mode.
There are two modes:
- Frequency
- Cache
If cache is set, the driver will try to put the tasks first on the CCD with the higher Cache, this is mainly profitable on games.
The frequency option will try to put the tasks on the second CCD, which has a higher frequency than the 3D Cache CCD.
Frequency (Default):
echo frequency | sudo tee /sys/bus/platform/drivers/amd_x3d_vcache/AMDI0101:00/amd_x3d_modeCache:
echo cache | sudo tee /sys/bus/platform/drivers/amd_x3d_vcache/AMDI0101:00/amd_x3d_modeAfter you changed the modes, the amd preferred core stats should provide a different ranking. You can read it out with:
grep -v /sys/devices/system/cpu/cpu*/cpufreq/amd_pstate_prefcore_rankingAMD P-State Core Performance Boost
Section titled “AMD P-State Core Performance Boost”AMD Core Performance Boost aka AMD Turbo Core is a dynamic frequency scaling technology by AMD that allows the processor to dynamically adjust and control the processor operating frequency in certain version of its processors which allows for increased performance when needed while maintaining lower power and thermal parameters during normal operation.
To manage AMD CPB on CachyOS, you can use the following commands:
❯ echo 0 | sudo tee /sys/devices/system/cpu/cpu*/cpufreq/boost # Disable boost for all cores❯ lscpu -ae # This shows that AMD CPB is disabled globallyCPU NODE SOCKET CORE L1d:L1i:L2:L3 ONLINE    MAXMHZ   MINMHZ       MHZ  0    0      0    0 0:0:0:0          yes 3301.0000 400.0000 1212.8250  1    0      0    0 0:0:0:0          yes 3301.0000 400.0000 1394.2180  2    0      0    1 1:1:1:0          yes 3301.0000 400.0000 1204.4600
❯ echo 1 | sudo tee /sys/devices/system/cpu/cpu0/cpufreq/boost # Enables boost on cpu0❯ lscpu -aeCPU NODE SOCKET CORE L1d:L1i:L2:L3 ONLINE    MAXMHZ   MINMHZ       MHZ  0    0      0    0 0:0:0:0          yes 4564.0000 400.0000 1393.2380  1    0      0    0 0:0:0:0          yes 3301.0000 400.0000  400.0000  2    0      0    1 1:1:1:0          yes 3301.0000 400.0000 2157.8469
CachyOS also provides a version of power-profiles-daemon that backports a commit which enables
support for AMD CPB. AMD CPB will be disabled if the powersave profile is being used, and will be enabled on balanced or performance.
For more information see:
- https://lore.kernel.org/linux-pm/1a78eeaa-fadd-4734-aaeb-2fe11e96e198@amd.com/T/#m4a0c8917ea8fb033504055bd61512c80c85410c8
- https://lore.kernel.org/linux-pm/20240624213400.67773-1-mario.limonciello@amd.com/
Performance Improvements
Section titled “Performance Improvements”Created by firelzrd
Brief introduction from README:
- ADIOS (Adaptive Deadline I/O Scheduler) is a block layer I/O scheduler for the Linux kernel, designed for modern multi-queue block devices (blk-mq). It aims to provide low latency for I/O operations by combining deadline scheduling principles with a learning-based adaptive latency control mechanism.
- Inspired by and builds upon concepts from the mq-deadline and Kyber I/O schedulers. Its core feature is the ability to predict I/O completion latency based on past performance and request characteristics (operation type, size) and use this prediction to dynamically adjust request deadlines and batching behavior.
TLDR: ADIOS works by learning the latency profile of your storage device and using that knowledge to dynamically set deadlines for I/O requests. It prioritizes requests into four tiers, from critical system operations (Tier 0) to background tasks (Tier 3), to ensure a smooth user experience. While it focuses on responsiveness, its behavior can be fine-tuned via sysfs settings to balance latency and throughput.
For a live demo, you can watch this video
How to enable ADIOS
Section titled “How to enable ADIOS”This method sets the scheduler for the current session. The change will be lost on reboot.
sync && echo adios | sudo tee /sys/block/<yourdrive>/queue/scheduler # Replace <yourdrive> with the actual drive identifier (e.g. sda, sdb, nvme0n1)- Open or create a new udev rules file in your preferred text editor (e.g., nano, micro, vim)
Example sudo nano /etc/udev/rules.d/60-ioschedulers.rules - Add the following rules to the file. These rules automatically apply a specific I/O scheduler based on the drive type (HDD, SSD, or NVMe).
# HDDACTION=="add|change", KERNEL=="sd[a-z]*", ATTR{queue/rotational}=="1", \ATTR{queue/scheduler}="bfq"# SSDACTION=="add|change", KERNEL=="sd[a-z]*|mmcblk[0-9]*", ATTR{queue/rotational}=="0", \ATTR{queue/scheduler}="adios"# NVMe SSDACTION=="add|change", KERNEL=="nvme[0-9]*", ATTR{queue/rotational}=="0", \ATTR{queue/scheduler}="adios"
- Save the file and close the editor.
- Reload the
udevrules to apply the changes immediately without a reboot.Terminal window sudo udevadm control --reload-rulessudo udevadm trigger
FAQ:
- If it improves responsiveness, why isn’t it enabled by default?
- ADIOS is still under active development and continuous testing. While it offers significant benefits for desktop responsiveness, it is not yet considered stable enough to be the default for all workloads and hardware types. In some edge cases, bugs could lead to issues like system lockups. For this reason, it is an optional feature for users who wish to test and benefit from its latest improvements.
NVIDIA Smooth Motion (RTX 40xx & 50xx Series)
Section titled “NVIDIA Smooth Motion (RTX 40xx & 50xx Series)”Direct quote from NVIDIA’s documentation:
NVIDIA Smooth Motion is a new driver-based AI model that delivers smoother gameplay by inferring an additional frame between two rendered frames. For games without DLSS Frame Generation, NVIDIA Smooth Motion is a new option for enhancing your experience on GeForce RTX 40 Series and newer GPUs.
- How to enable NVIDIA Smooth Motion for a game:
- Add the following environment variable:
NVPRESENT_ENABLE_SMOOTH_MOTION=1
- Add the following environment variable:
FAQ:
- Why use Smooth Motion over DLSS Frame Generation?
- When a game lacks support for DLSS Frame Generation, Smooth motion serves as an alternative thanks to its driver-based AI model.
- Is there any drawback to using Smooth Motion?
- Yes, enabling Smooth Motion may introduce a slight input lag due to the additional frame inference process.
- Prone to cause issues with third party overlays. In order to avoid this. Include the following environment variable:
NVPRESENT_QUEUE_FAMILY=1
- Why MangoHud is not reporting the increased framerate?
- Currently, MangoHud does not account for the additional frames generated by Smooth Motion, leading to a misleading reported framerate.
- Using a monitor’s built in FPS counter will provide the correct framerate.
- Currently, MangoHud does not account for the additional frames generated by Smooth Motion, leading to a misleading reported framerate.
- How’s the image quality compared to DLSS Frame Generation?
- Image quality is not as good and may introduce artifacts, especially during fast motion scenes.
- Is it compatible with external frame capping tools? Example: MangoHud.
- No. In-game cap should work fine.
- Can Smooth Motion be combined with DLSS Frame Generation?
- No. Only one frame generation method can be active at a time.
- Can Smooth Motion be used with OpenGL applications?
-
Not directly, since it is implemented as a Vulkan layer, but it is possible by leveraging Zink to translate OpenGL calls to Vulkan:
NVPRESENT_ENABLE_SMOOTH_MOTION=1 zink-run <command>
-
Power Saving Tweaks
Section titled “Power Saving Tweaks”thermald
Section titled “thermald”thermald is a thermal management daemon for Intel systems. It monitors thermal sensors and applies cooling actions, such as CPU power limits or performance-state changes, before the firmware needs to use more aggressive throttling.
It is mainly useful on Intel laptops, convertibles, tablets, handhelds, and small form factor PCs that expose Intel thermal controls through /sys/class/thermal. Supported systems commonly use Intel CPU temperature sensors, Intel P-state, Intel power clamp, RAPL, INT340X, or ACPI DPTF/adaptive thermal tables. AMD CPUs are not supported by thermald.
Install and enable it with:
sudo pacman -S thermaldsudo systemctl enable --now thermald.serviceCheck whether it started correctly:
systemctl status thermald.servicejournalctl -u thermald.service -bFor more information:
thermald upstream repositorythermald manual pageEnable RCU Lazy
Section titled “Enable RCU Lazy”RCU Lazy helps reducing the power usage at idle or lightly loaded systems. This can be useful for laptops and handheld devices. The improvement is between 5-10% in terms of power savings. However, it’s important to note that this power saving feature may come at the cost of slightly reduced performance depending on the scenario. The linux-cachyos-deckify kernel will have this option enabled by default, since power saving is key and necessary for these devices.
To enable RCU Lazy, add the following parameter to your kernel cmdline parameters list:
rcutree.enable_rcu_lazy=1NVIDIA Troubleshooting
Section titled “NVIDIA Troubleshooting”Disabling SDDM Wayland Backend
Section titled “Disabling SDDM Wayland Backend”While this a nice step forward, it might introduce some annoyances such as breaking support for overclocking using nvidia-settings or cause incompatibility with older GPUs which struggle under Wayland.
In order to revert this change. Remove the cachyos-kde-settings package:
sudo pacman -R cachyos-kde-settingsNVIDIA GSP Firmware
Section titled “NVIDIA GSP Firmware”The NVIDIA GSP Firmware can “in some cases” lead to decreased performance. While the 555.58.02 NVIDIA Driver has largely addressed this issue, it may persist on certain systems.
If you are facing hiccups in KDE or bad performance in some cases, you can disable the GSP Firmware with the following config file:
/etc/modprobe.d/nvidia-gsp.conf
options nvidia NVreg_EnableGpuFirmware=0After creating the file, execute the following command:
sudo mkinitcpio -PIt’s generally recommended to test the GSP firmware after each new NVIDIA driver installation, as it often introduces beneficial features. Moreover, NVIDIA primarily started conducting QA testing using the GSP firmware.
Audio and Software Enhancements
Section titled “Audio and Software Enhancements”Enhancing Laptop Speaker Sound
Section titled “Enhancing Laptop Speaker Sound”Laptop speakers often produce thin and underwhelming sound due to their compact size and limited hardware capabilities. EasyEffects can significantly enhance the sound quality of your laptop’s built-in speakers by applying various audio effects and custom configurations.
To get started you need to install EasyEffects and the required dependencies:
# Install EasyEffectssudo pacman -S easyeffects# Install additional plugins for more effectssudo pacman -S lsp-plugins-lv2sudo pacman -S zam-pluginssudo pacman -S calfsudo pacman -S mda.lv2Configuration
Section titled “Configuration”Follow these steps to configure EasyEffects:
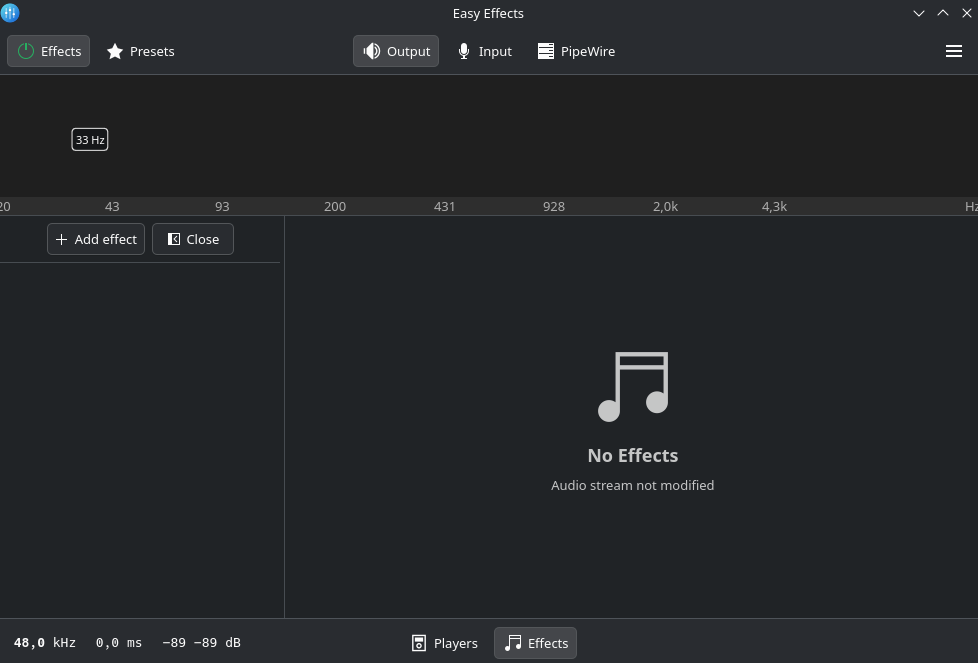
- Launch EasyEffects from your application menu or by typing
easyeffectsin the terminal. - Navigate to the Output tab to manage effects applied to your speaker audio.
- Switch to the Effects tab to add, modify, or adjust audio effects.
Using Community Presets
Section titled “Using Community Presets”For a quick and effective setup, start with community-created presets tailored for various audio scenarios:
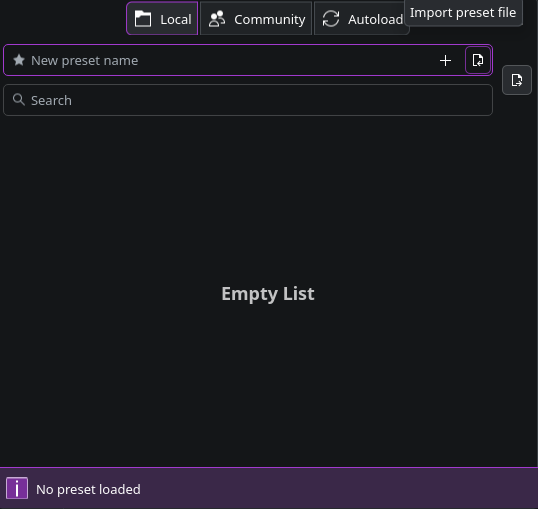
- Download presets from the EasyEffects Community Presets repository.
- In EasyEffects, click the Presets button and choose “Import preset from local storage”.
- Locate and select the downloaded preset file.
- Once imported, the preset will appear in your list—click “Load” to apply it to your audio output.
Creating a Custom Profile
Section titled “Creating a Custom Profile”For a more personalized audio experience, create a custom profile tailored to your laptop’s speakers:
- Click the “+” button in the Presets menu to create a new preset (e.g., name it “Laptop Speakers”).
- Select “Load” to activate the new preset.
- Add and configure effects in the Output > Effects tab, experimenting with options like equalizers, bass enhancers, or stereo wideners.
Using the Convolver Effect (Dolby Atmos Laptops)
Section titled “Using the Convolver Effect (Dolby Atmos Laptops)”The Convolver effect can dramatically improve sound by applying impulse responses that simulate high-quality audio environments. However, it requires precise setup:
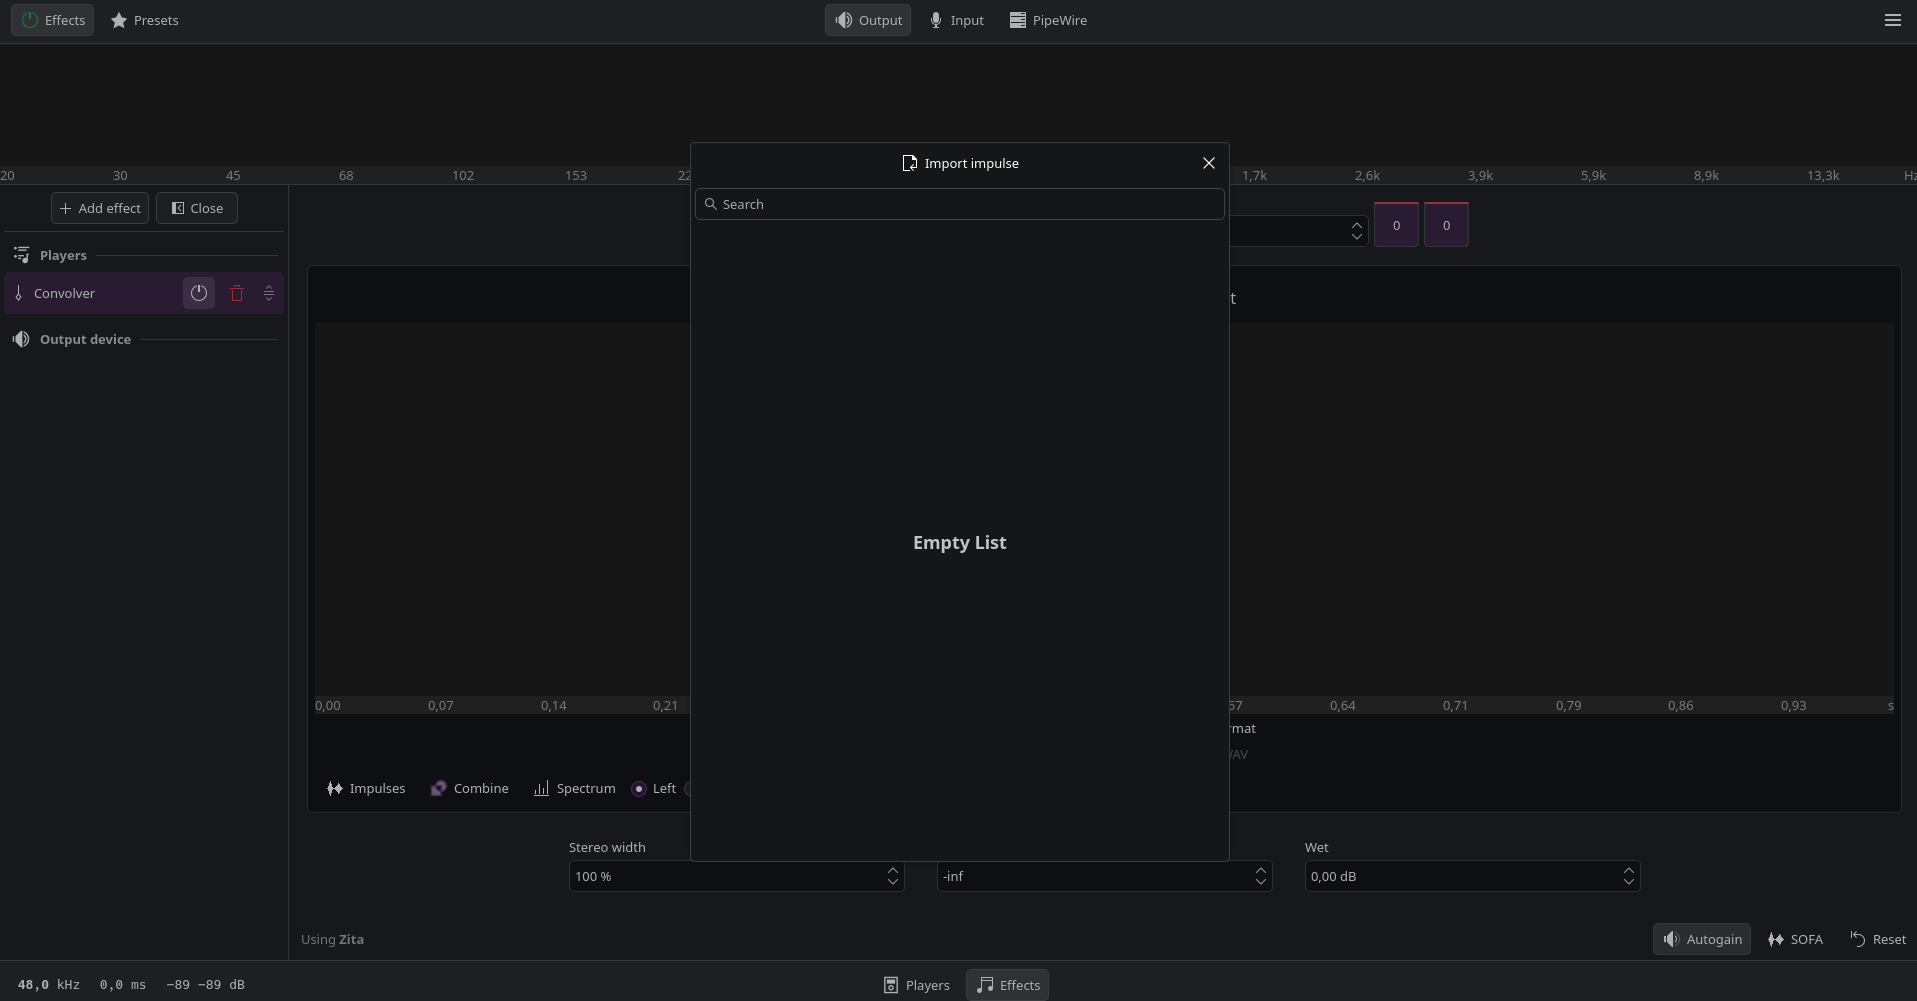
- Add the Convolver effect to your effects chain in the Effects tab.
- Load an impulse response file (in
.wavformat) specific to your laptop model, if available. You can search for these files online at resources like: - Prevent clipping: The Convolver effect may increase volume significantly. Add a Limiter effect after the Convolver in your effects chain to control peaks and avoid distortion.
Tips for Optimal Results
Section titled “Tips for Optimal Results”- Experiment with different presets to identify the best match for your specific laptop model and personal sound preferences.
- Make incremental adjustments to individual effects to prevent distortion or unnatural sound output.
- Compare with toggle: Frequently toggle EasyEffects on/off to evaluate the improvements against the default audio.
- Search for device-specific presets or Convolver impulse responses for popular laptop models like Framework Laptop 13 or ThinkPad T14 to achieve tailored results.
- Automate startup: Configure EasyEffects to launch automatically at startup through the app’s preferences to ensure your custom profile is always applied.
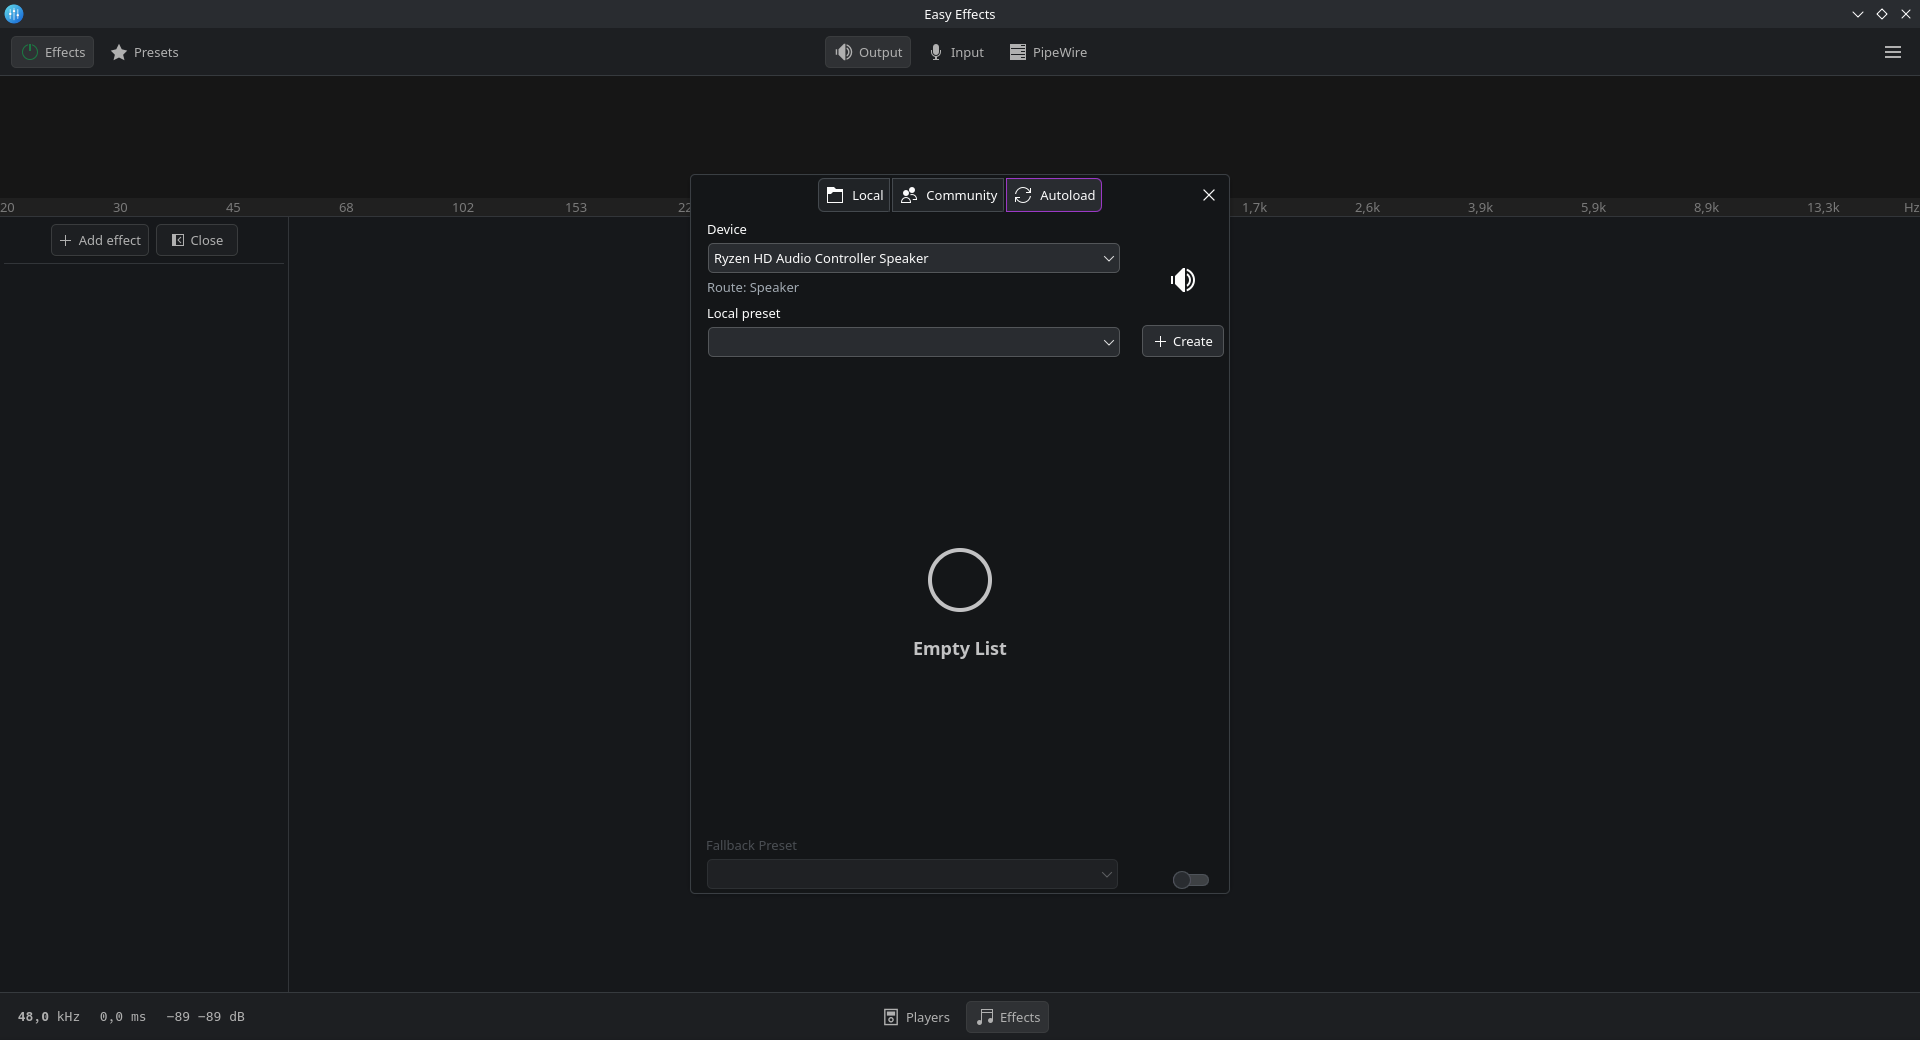
- Autoload presets for multiple devices: Use the PipeWire > Presets Autoloading tab to associate specific presets with different output devices (e.g., Speakers vs. Headphones) for seamless switching.
Alternative to EasyEffects
Section titled “Alternative to EasyEffects”As an alternative you can try using JDSP4Linux, which is an audio effect processor for PipeWire and PulseAudio clients.
OBS Studio
Section titled “OBS Studio”We provide a custom obs-studio-browser package in our repository that is recommended over the standard obs-studio package. It contains patches to fix some of the common issues like cuda-errors and virtual camera problems.
sudo pacman -S obs-studio-browser# If you previously had the obs-studio installed then pacman is going to ask you if# you want to replace it, if so enter "Y".Swap Configuration
Section titled “Swap Configuration”Switching from ZRam to Zswap
Section titled “Switching from ZRam to Zswap”By default, CachyOS uses ZRam for swap management. However, if you prefer to use Zswap instead, you can easily switch by following these steps:
- Disable ZRam by adding a kernel parameter. Edit your bootloader configuration and add the following line:
systemd.zram=0
- Enable Zswap by adding the following kernel parameter:
zswap.enabled=1 zswap.shrinker_enabled=1 zswap.compressor=lz4 zswap.max_pool_percent=30
- Create an empty override file to disable CachyOS’s udev rule which disables Zswap:
Terminal window sudo touch /etc/udev/rules.d/30-zram.rules - Create a swap file for Zswap.
If you’re using Btrfs:
- Create a Btrfs subvolume for the swap file:
Terminal window sudo btrfs subvolume create /swap - Create a swap file with your desired size (e.g., 8GB) by changing the
--sizeparameter:Terminal window sudo btrfs filesystem mkswapfile --size 4g --uuid clear /swap/swapfile - Activate the swap file:
Terminal window sudo swapon /swap/swapfile - Add the swap file to
/etc/fstabto make it persistent across reboots:Terminal window echo "/swap/swapfile none swap defaults 0 0" | sudo tee -a /etc/fstab
If you’re not using Btrfs:
- Create a swap file with your desired size (e.g., 8GB) by changing the
count=parameter:Terminal window sudo dd if=/dev/zero of=/swapfile bs=1G count=8 - Set the correct permissions for the swap file:
Terminal window sudo chmod 0600 /swapfile - Format the swap file:
Terminal window sudo mkswap /swapfile - Add the swap file to
/etc/fstabto make it persistent across reboots:Terminal window echo "/swapfile none swap defaults 0 0" | sudo tee -a /etc/fstab - Activate the swap file:
sudo swapon /swapfile
- Create a Btrfs subvolume for the swap file:
- Add the lz4 compression module to the
mkinitcpio.confconfiguration file:- Open the file with a text editor:
Terminal window sudo nano /etc/mkinitcpio.conf - Find the
MODULESarray and addlz4to it. It should look something like this:MODULES=(... lz4) - Save the file by pressing
Ctrl + OandEnterto confirm, then exit the editor withCtrl + X.
- Open the file with a text editor:
- Rebuild your initramfs to apply the changes. The command varies depending on your bootloader:
systemd-boot
Terminal window sudo sdboot-manage genGRUB
Terminal window sudo grub-mkconfig -o /boot/grub/grub.cfgLimine
Terminal window sudo limine-mkinitcpio - Reboot your system to apply all changes.